A full-body harness is the last line of defence when working at height. It is also the piece of equipment most likely to be thrown into a van, left in the sun and worn by three different people in a week. A pre-use inspection takes two minutes and is the only thing standing between a near miss and an incident.
This is the routine we teach on every fall protection programme. It is not a substitute for the periodic competent-person inspection the manufacturer and your site rules require — it is what the wearer does, every time, before clipping on.
1. Read the label first
Before touching the webbing, find the label:
- Standard and type — the harness must be a fall-arrest harness for the work planned, not a restraint or positioning belt.
- Date of manufacture — most manufacturers set a maximum service life from this date. If the label is unreadable, the harness cannot be verified and should not be used.
- Last inspection — a tag, sticker or logbook entry from the competent-person inspection within the interval your procedure sets.
If any of these cannot be confirmed, stop. A harness with no history has no place at height.
2. Webbing — run it through your hands
Hold the harness by the dorsal D-ring so it hangs naturally, then run every strap through your hands from end to end, bending it into a tight "U" as you go. Bending opens up the fibres and shows damage that lies flat otherwise. Look and feel for:
- Cuts, nicks, frayed edges or broken fibres
- Burns, melted or glazed areas (welding spatter, grinding sparks, friction)
- Chemical damage — stiff, discoloured or brittle sections
- UV degradation — fading and a chalky, rough surface
- Paint, grease or heavy soiling that could hide damage or weaken the fibres
Pay particular attention to the leg loops and shoulder straps where the harness rubs against the body and structure, and to the section behind the dorsal D-ring.
3. Stitching
Every load-bearing seam is a box-and-cross pattern in a contrasting thread so that damage is visible. Check each one for:
- Pulled, cut or missing stitches
- Abrasion that has flattened the pattern
- Any sign the stitching has been re-sewn or repaired — only the manufacturer may repair a harness
4. Hardware
Work through each metal component:
- Dorsal D-ring — no cracks, distortion or sharp edges; the pad behind it undamaged.
- Buckles — operate freely, engage fully and hold under a firm pull; no bent tongues, cracked frames or corrosion.
- Adjusters — grip the webbing and do not slip when loaded.
- Attachment points — chest, side or sternal rings, if fitted, are the same standard as the dorsal ring.
Corrosion that has pitted the metal, or any deformation at all, condemns the harness.
5. Indicators and integral parts
Many harnesses carry fall-arrest indicators — stitched folds that tear open when the harness has been loaded in a fall. If an indicator has deployed, the harness has done its job once and must be withdrawn.
Check any integral lanyard, energy absorber or connector as a separate piece of equipment with its own inspection.
6. Fit — the inspection people skip
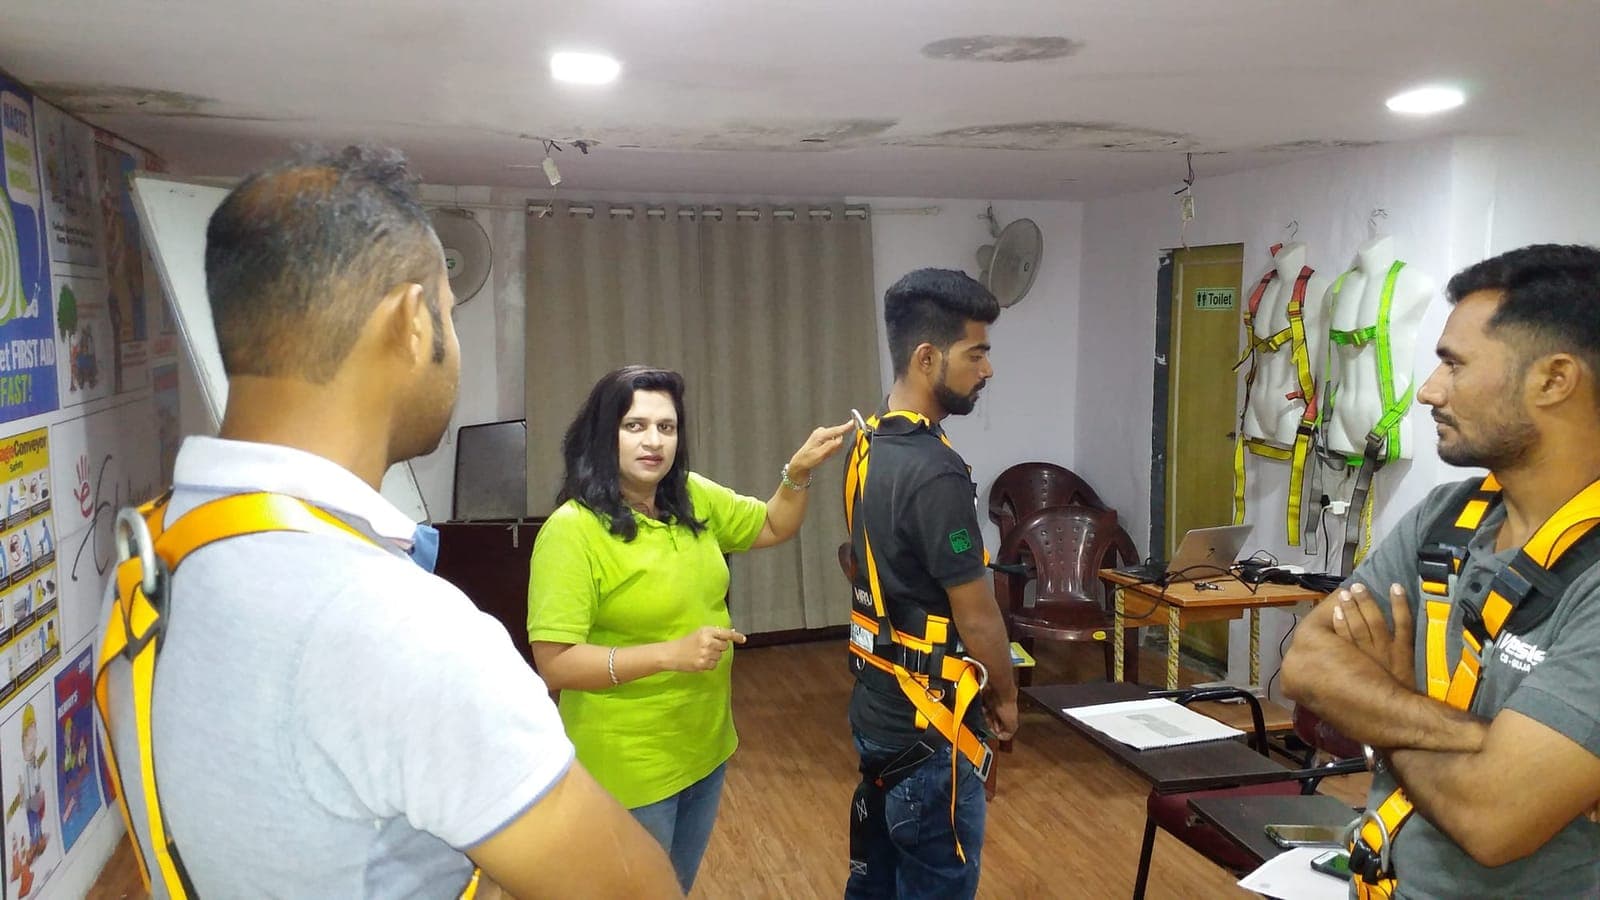
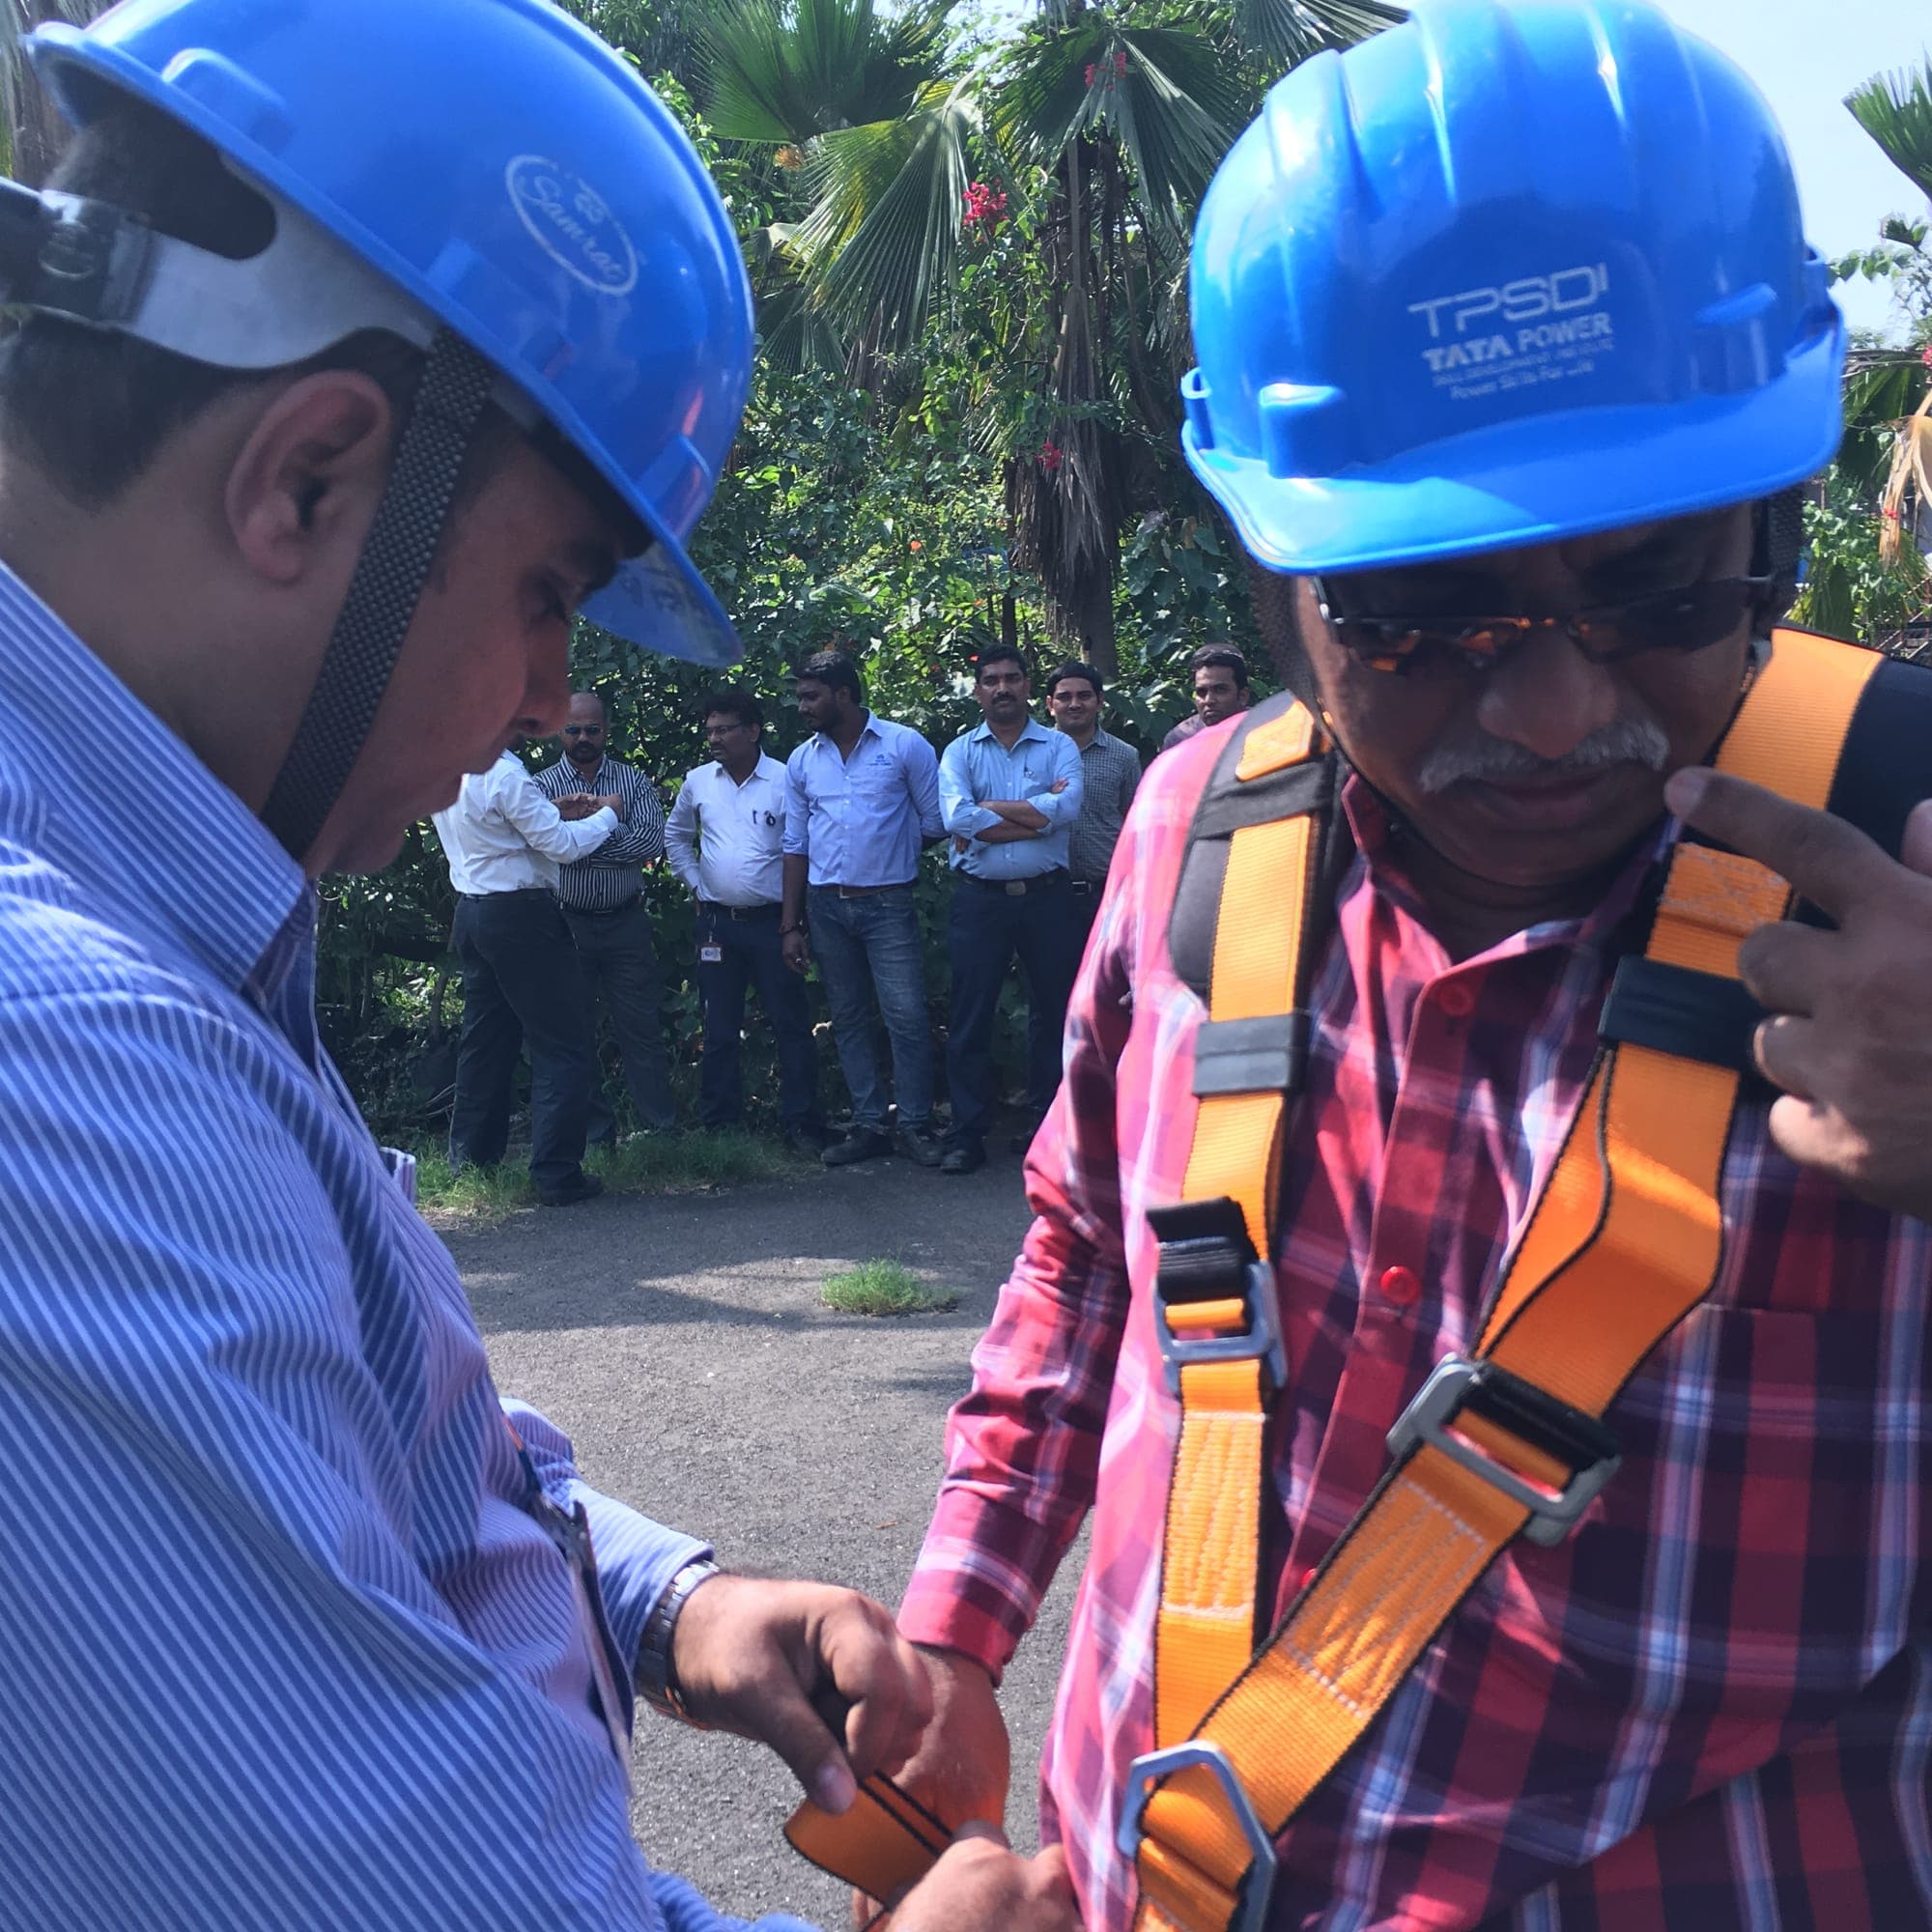
An undamaged harness that does not fit is still unsafe. In a fall, a loose harness lets the wearer slip, loads the wrong parts of the body and makes rescue harder. Fit is checked after donning:
- Dorsal D-ring sits between the shoulder blades, not at the neck or the small of the back.
- Chest strap across the mid-chest, keeping the shoulder straps from spreading.
- Leg straps snug — a flat hand slides between strap and thigh, a fist does not.
- All loose strap ends tucked into their keepers so nothing can snag.
What to do with a harness that fails
Take it out of service immediately. Tag it, quarantine it where nobody can pick it up in a hurry, and record it. Do not cut it up until the competent person has confirmed the decision — the record is as important as the removal.
A harness is also withdrawn, regardless of appearance, if it has:
- Arrested a fall
- Been exposed to chemicals, heat or arc flash
- Exceeded the manufacturer's service life
- No verifiable inspection history
Make it a habit, not a form
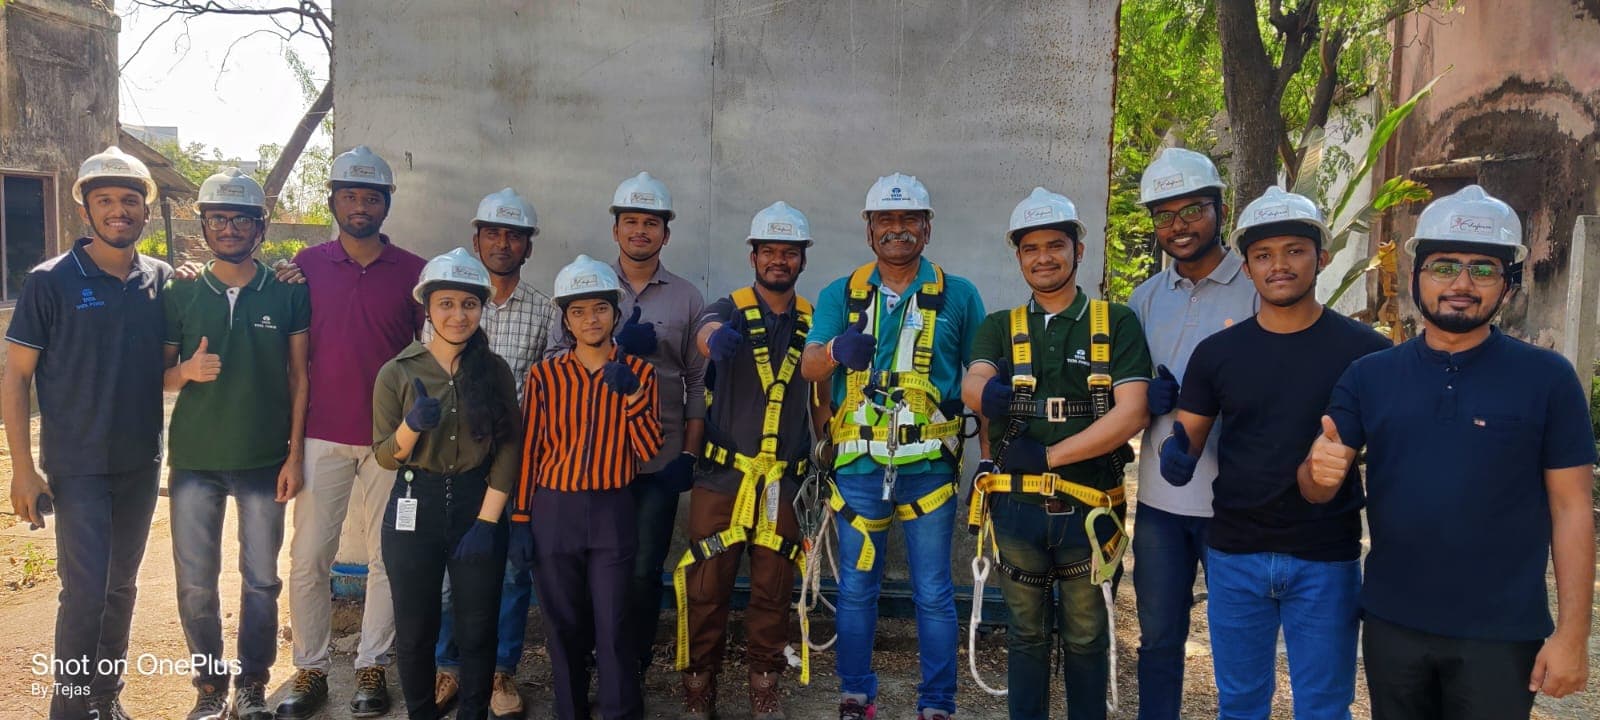
The routine above takes less time to do than to read. The difference between sites where harnesses are inspected and sites where they are not is rarely knowledge — it is whether the inspection is treated as part of the job or as paperwork. That is a culture question, and it is one we address directly in our Basic Fall Protection Training and Behaviour Based Safety programmes.
If your team works at height and has not been through a structured fall protection programme, talk to us about a session at our training centre or on your site.
Frequently asked questions
- How often should a fall-arrest harness be inspected?
- By the wearer before every use, and by a competent person at the interval set by the manufacturer and your site procedure. The pre-use check does not replace the periodic competent-person inspection.
- Can a harness be used after it has arrested a fall?
- No. A harness that has arrested a fall is withdrawn from service and destroyed after the competent person has recorded the decision, even if no damage is visible.
- Who can repair a damaged harness?
- Only the manufacturer. Any other repair, re-stitching or modification invalidates the harness and it must be taken out of service.
Related training
Need help developing workplace safety capability?
Talk to Eduforce about training, consultancy and safety solutions.
Eduforce Team
EHS Training & Safety Solutions
Practical safety guidance from the Eduforce trainers and consultants — written from the training centre, the classroom and the site.
More about Eduforce